Milky way photography
 Milky way over Pioneer Dam in Mopani camp, Kruger park. Captured with a Nikon D850 and Sigma 14mm lens, ISO 3200, 30 seconds, f1.8.
Milky way photography, and photographing star trails, with the old film cameras was quite easy but then became a challenge with the early digital cameras. With the newer digital cameras, such as the Nikon D850 full-frame (and even crop sensor cameras like the Nikon D7200 and Nikon D500) it once again became easy.
 Reaching for the Stars! Impala lily flowers in Olifants Camp, Kruger park. Captured with a Nikon D7200 and Tokina 11-20mm lens @ 11mm, ISO 3200, 25 seconds, f2.8.
Milky Way Photography - choosing a location
In order to capture impressive star photos you first need to go where the skies are dark, visit in winter (when the milky way is visible in the southern hemisphere) and choose nights when the moon is dark or has set before it gets dark.
Parks such as the Kruger Park and Kgalagadi in South Africa and Etosha and the NamibRand in Namibia are two great locations for Milky way photography.
Then, you should visit these parks when there is a 'new moon' or the days just before and after the new moon 3Q to 1Q (last quarter to first quarter).
A new moon means that the moon is not visible at all for that night, so the night is extra dark. Every month there is a new moon so plan your trips around these days!
To find dark skies, you should check the Bortle Scale, which is a nine-level classification system for rating the darkness of the night sky, with Class 1 being the darkest and Class 9 the brightest (inner-city skies).
This scale was created by John Bortle and published in 2001 and it helps photographers and astronomers to choose sites by quantifying the light pollution and skyglow affecting the visibility of the stars and other celestial objects.
Lower numbers on the scale indicate better sky quality, allowing for the naked-eye observation of more stars and details like the Milky Way.
You can check various locations by using these light pollution maps that show the bortle rankings:

In both the southern and northern hemispheres, the best months to see and photograph the milky way are from March to October. November to February the milky way is not visible as it is 'visible' during the day and we need dark skies.
The milky way core starts to rise over the eastern horizon from March onwards.
The Milky Way can then be seen directly overhead from the month of May.
The Milky Way can be seen setting over the western horizon from August.
So basically, the milky way moves across our skies from the east (in March and April) to the west (in August - October), after which the core is no longer visible until the following March.
Milky Way Photography in the Kruger Park
The Kruger Park camps are ranked from Bortle 1 to Bortle 3 so it is a great location to visit - the big-five animals plus the stars!
All the Kruger camps can provide good conditions for milky way photography but the north-eastern camps tend to be the darkest as they are further away from bright lights of the western and southern towns (Nelspruit, Phalaborwa, Hazyview, Malelane, Komatipoort, etc.)
Here are the Bortle rankings of the camps:
Bortle 1-2 camps:
Shingwedzi, Olifants, Balule and Satara.
Bortle 2-3 camps:
Punda Maria, Sirheni, Bateleur, Mopani, Shimuwini, Letaba, Orpen, Tamboti, Talamati, Skukuza.
Bortle 3 camps:
Pretoriuskop, Berg en Dal, Malelane, Crocodile Bridge, Lower Sabie and Biyamiti.
So, the main criteria for Milky way photography are to choose a dark location, in winter, on a moonless night. The above Bortle rankings will help you choose, but another criteria is a subject of interest.
If you simply point your camera up to the sky and photograph the milky way, you could be anywhere in the world, so we prefer to photograph the milky way with a subject in the frame that shows where we are and adds interest to the photograph - like the impala lily plant image at the beginning of the page.
Many camps are too bushy or the fence blocks the views so we have narrowed down the choices to the following camps, which provide great views and/or foreground subjects:
Olifants - you have a 180-degree view to the south so can photograph the milky way all night from the view point in front of the restaurant or from your bungalow if you have a river-facing bungalow. If you cannot find a subject of interest, try and photograph your bungalow...
 Milky way over our bungalow in Olifants camp, Kruger park. Captured with a Nikon D850 and Sigma 14mm lens, ISO 3200, 20 seconds, f2.
Shingwedzi and Letaba - the palm trees can make good foreground subjects.
 Milky way over lala palms in Shingwedzi camp, Kruger park. Captured with a Nikon D850 and Sigma 14mm lens, ISO 3200, 20 seconds, f2.
Mopani - you can photograph sunset plus the milky way above the baobab tree and the milky way above Pioneer Dam.This is our number-1 camp for Milky way photography!
We drink our sun-downers at the fence below the Mopani restaurant - if you photograph the sunset from the deck at the restaurant, you will be shooting down and will not get the eye-level images that are more appealing...


We then have a quick dinner and go set up at the large baobab that is situated close to the Mopani reception and petrol station.
We can now get creative and also photograph the baobab with backlighting!


If you cannot find a suitable object of interest or if there is too much ambient light from the neighbors' bungalows, restaurant, toilets etc., then try and shoot the milky way when it's directly overhead. That way you cut out most of the surrounding light pollution.
 Milky way directly overhead - captured from our cottage in Shingwedzi camp, Kruger park. Captured with a Nikon D850 and Sigma 14mm lens, ISO 3200, 20 seconds, f2.
The milky way moves from the east to the west, hence we start with the baobab, as the milky way will be to the south-east or directly overhead, depending on the month.
After shooting the baobab we may have a sleep or go directly to the viewing deck. You can use an app, like Stellarium, to check where the milky way will be in the sky, at what time and plan your night accordingly.
Some nights I have set my alarm for 02h00 as that is when the milky way would be over Pioneer Dam, while other nights it is there much earlier.

The above screenshot shows the location of the milky way from Mopani camp, on the 21st August 2025 at 20h50. I therefore know it will be in the west and see exactly where in the sky it will be, minute by minute.
Photographing the Milky Way
To capture impressive images of the milky way you will need a wide-angle lens with a large aperture (f1.8 or f2/8).
Then you turn off image stabilization and auto-focus as you will focus manually on the stars by using the live-view.
Set the aperture at its widest, ISO between 3200-6400 (depending on the conditions), white balance around 4000 and the shutter speed between 15-30 seconds.
One challenge with milky way images is the streaking of stars due to the earth's rotation, so you need to take a few test shots and zoom in to see if the stars are points or streaks. If they are streaking, reduce the shutter speed.
I don't mind the streaks if I'm posting the images to social media pages but if you want to print large prints, rather try and get star points.
And then use a tripod and cable release!
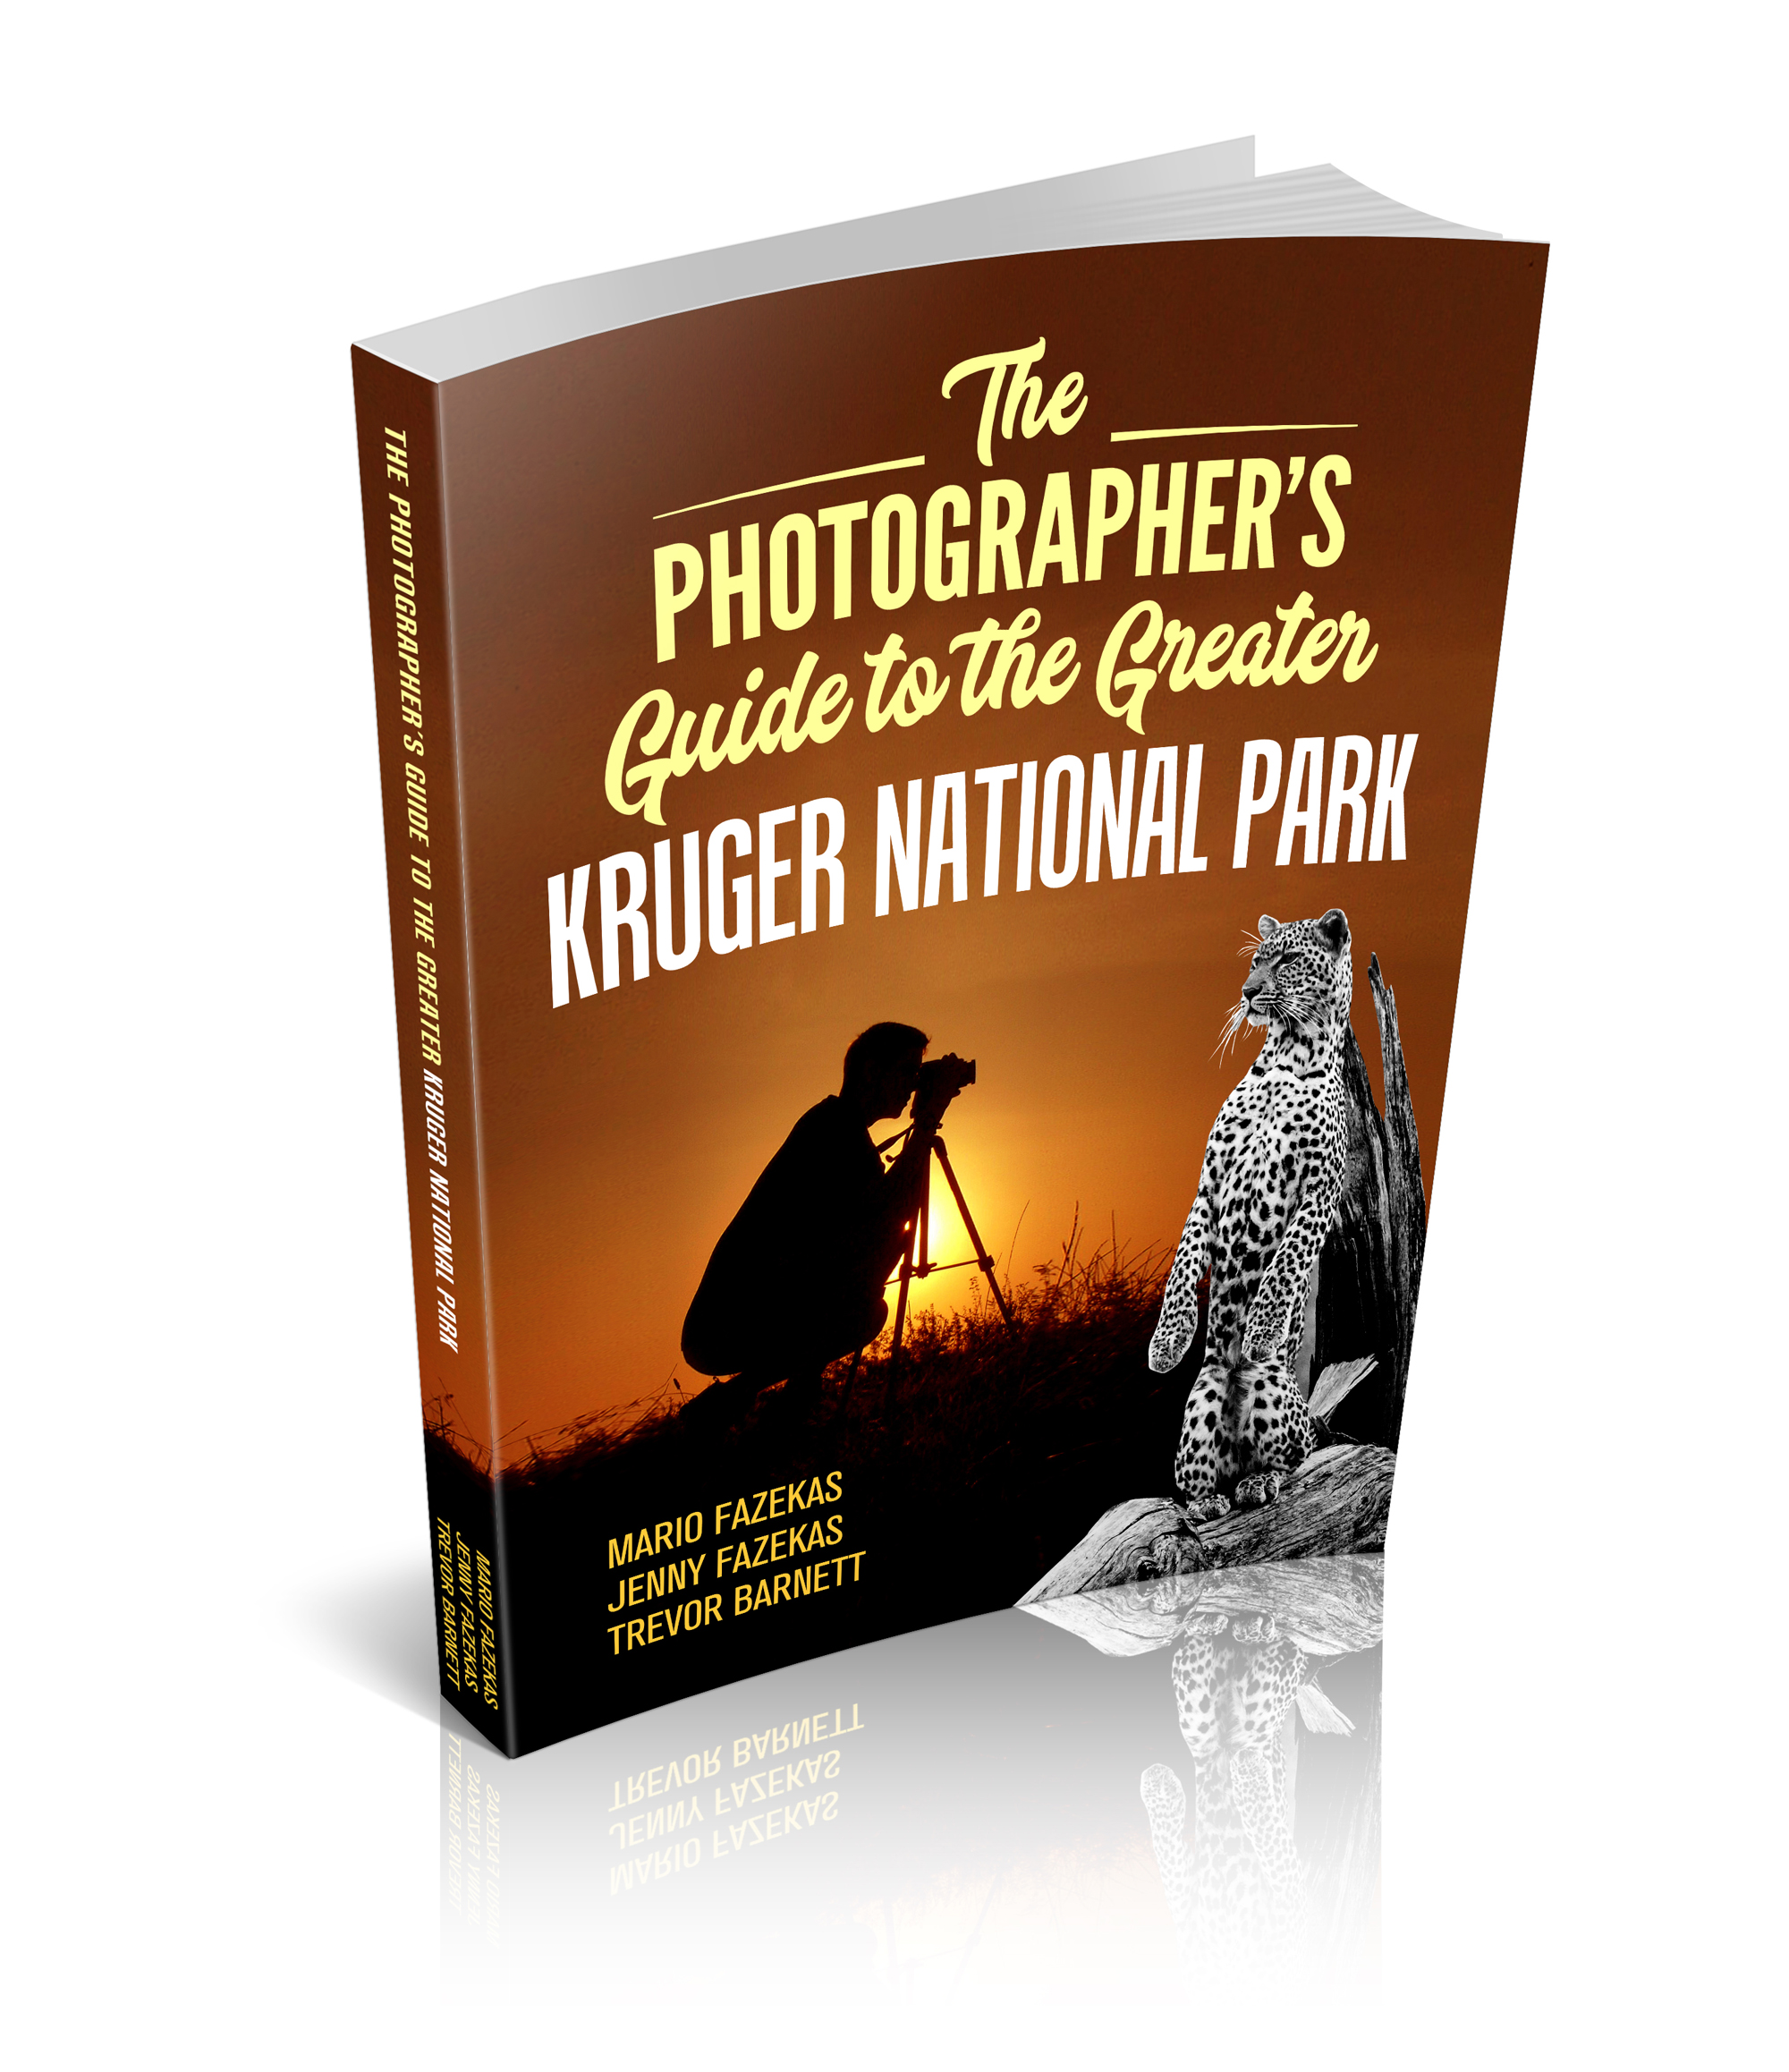 Should you wish to get the Kruger eBook, click on the above book cover, then click 'Add to Cart' where you'll see a button called 'Add Promo Code'. Click on it then add the word K2K and the 33% discount will be automatically applied. This code is valid until the end of the month, so don't delay! |
"This is an indispensable guide to getting the best out of Kruger, camera in hand or not!” - Caroline Webb, Associate Editor, Getaway Magazine, South Africa  |
Star Trail Photography

This photograph was taken from the tents in Punda Maria camp, Kruger National Park.
Here we discuss three methods for shooting star trails but you first need to ensure a few things in order to get successful star trail photographs:
• In the southern hemisphere you need to point the camera in a southerly direction.
• Photograph on a night when there are no clouds and no moon – that would be when there is a ‘new moon’, including the few days before and after this new moon.
• Shoot away from lights – even if the lights are miles away, with a long exposure they tend to show up in the picture. In this picture (taken as one long exposure) the glow you see on the horizon is from a veld fire that was burning between Satara rest camp and the Orpen gate in the Kruger Park, about 30 to 40 kilometers away from Olifants camp!...

...Star-trail taken with one long exposure from Olifants Camp. You'll notice that the star trails are not as bright and sharp as the first photograph - this is because the light from the veld fire has made the image too bright. You must shoot star trails on a dark night with no other light source!
• You need to ensure a stable tripod so when setting it up make sure you jiggle it around so that it is firm on the ground.
• Make sure the tripod head is tight as you don’t want it ‘creeping’ while the picture is being taken.
• Try and get some point of interest in the frame – it could be a tree, river, or boulder, anything that will add a bit of interest to the star trail picture.
• The f-stop can be anything from f2.8 to f4, depending on what your lenses’ biggest aperture is.
• The ISO needs to be as low as possible – try to have it on ISO 100.
• The camera should be set on ‘Bulb’.
• The lens should be set to infinity.
• You should put the eyepiece cap over the eyepiece. This is to prevent stray light from entering the camera from the rear. Keep in mind that you will most probably be stumbling around in the dark with a torch and we have had instances in camps where the neighbors are shining their spotlights all over the place looking for animals and they are unaware that we are shooting star-trails.
• You should use a wide angle lens; we use anything from a fish-eye lens to a 60mm lens depending on the circumstances.
• If the lens has VR (vibration reduction) turn it OFF and set the lens at infinity.
• Use a cable release such as the Nikon MC 30 or the MC 36.
• The camera and lens should be set on ‘manual’ – the auto-focus must be OFF.
• Ensure your battery is fully charged. To shoot star trails we use a D300 body with a battery grip as the battery in the grip lasts much longer than the battery in the camera body.
• Make sure the horizon is level – you can set up the camera while it is still light or use a Hama Spirit Level. If you don’t get the horizon straight you can always straighten it later in Photoshop, Google Picasa or whatever editing program you use.
You now have three options:
1) to make the exposure with one long exposure, 2) to use a series of short exposures and then join them together, or 3) to make a double exposure.
Option 1 – one long exposure
Here you can use a simple cable release such as the MC 30 as you open the shutter for anything from one to four hours and then you close the shutter. You must keep the camera Long Exposure Noise Reduction feature ON. If you don’t, the picture will have so much noise and look terrible.
By keeping the feature on, however, it doubles your battery usage meaning that a 1-hour exposure will take 2-hours or a 3-hour star trail exposure will now take 6 hours, as the noise reduction works for the same amount of time you had the shutter open to take the photograph.
Once you have switched the cable release off do not turn the camera off as this will turn the noise reduction off!
Option 2 – take a series of short exposures

...Star-trail taken with a series of short exposures from
Shimuwini Camp.
You'll notice the light on the reeds in the river - this light came from people's spotlights as they were watching hippos and crocodiles.
With this option you don’t need a long-lasting battery as there is no noise reduction in operation. So here you must turn the camera Long Exposure Noise Reduction feature OFF. You also need to ensure that you have no other pictures on your compact flash card as you will need a lot of space.
In addition you need the more expensive Nikon MC-36 remote as this has a timer. You then set the timer as follows:
DELAY=0, LONG=4min, INTVL=1sec
When the series is finished you need to take one last photograph with the lens cap on the lens. This last picture will be used by the software to eliminate noise.
The program I use is free and can be downloaded from:
www.startrails.de
We don’t like fiddling for hours after we have taken our photographs but this Startrails software is so easy and quick to use that we can’t wait to shoot star trails each time we go away.
Another free product that you can also try is StarMax.
Option 3 – take a double exposure
Take the first photograph of the main subject (tree, rocks etc.), exposing for the main subject, then take the second long exposure of the star trails as described under option 1 or option 2 above.
Return from Milky Way Photography back to the Landscape Photography page
Return from Milky Way Photography back to the Safari Photo Tips page

 Subscribe To This Site


To make a safari rental booking in South Africa, Botswana or Namibia click here

"It's 764 pages of the most amazing information. It consists of, well, everything really. Photography info...area info...hidden roads..special places....what they have seen almost road by road. Where to stay just outside the Park...camp information. It takes quite a lot to impress me but I really feel that this book, which was 7 years in the making, is exceptional." - Janey Coetzee, South Africa

"Your time and money are valuable and the information in this Etosha eBook will help you save both."
-Don Stilton, Florida, USA
"As a photographer and someone who has visited and taken photographs in the Pilanesberg National Park, I can safely say that with the knowledge gained from this eBook, your experiences and photographs will be much more memorable."
-Alastair Stewart, BC, Canada
"This eBook will be extremely useful for a wide spectrum of photography enthusiasts, from beginners to even professional photographers."
- Tobie Oosthuizen, Pretoria, South Africa
Photo Safaris on a Private Vehicle - just You, the guide & the animals!