Taking Black and White Nature Photographs
Most photographers adapt easily to taking color photographs. Black and white photography, however, can be somewhat more challenging. While it may not seem very different, there are many variables that can help you take better black and white nature photographs.
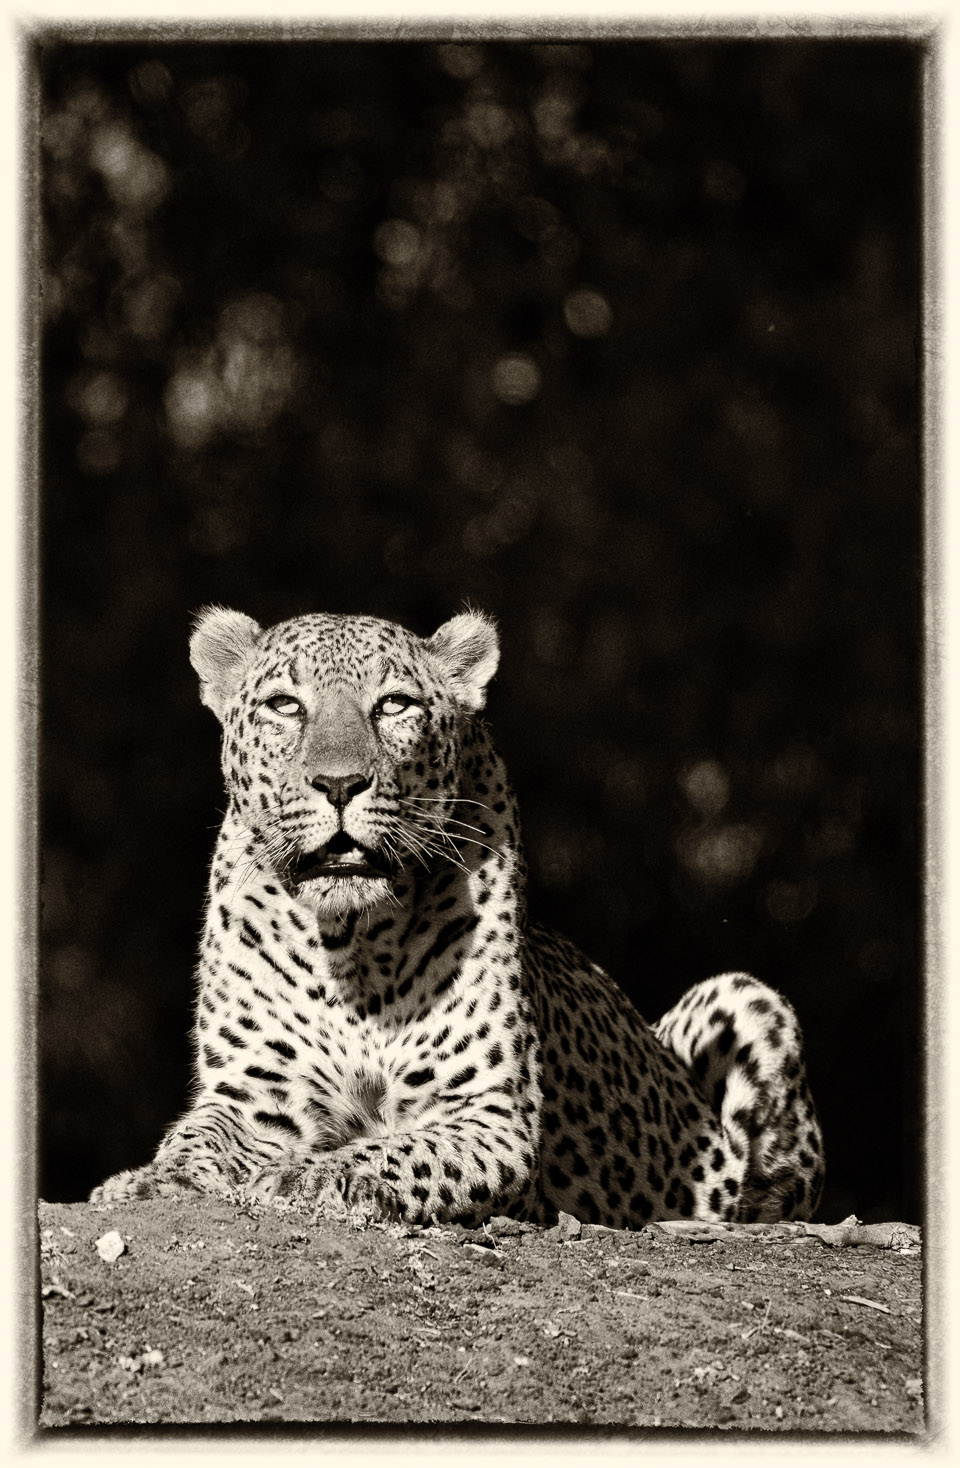
Black and white photos allow you to be more creative and to let your artistic abilities shine. Probably the most iconic of all nature photographers is Ansel Adams. Famous for taking stunning B&W photos of America’s West, he was a noted environmentalist.
When you look at Adam’s photos, you can see some of the characteristics that good black and white nature photographs should have. Today’s advanced digital cameras offer photographers better options for taking better photos than ever before.
Find the Perfect Vantage Point
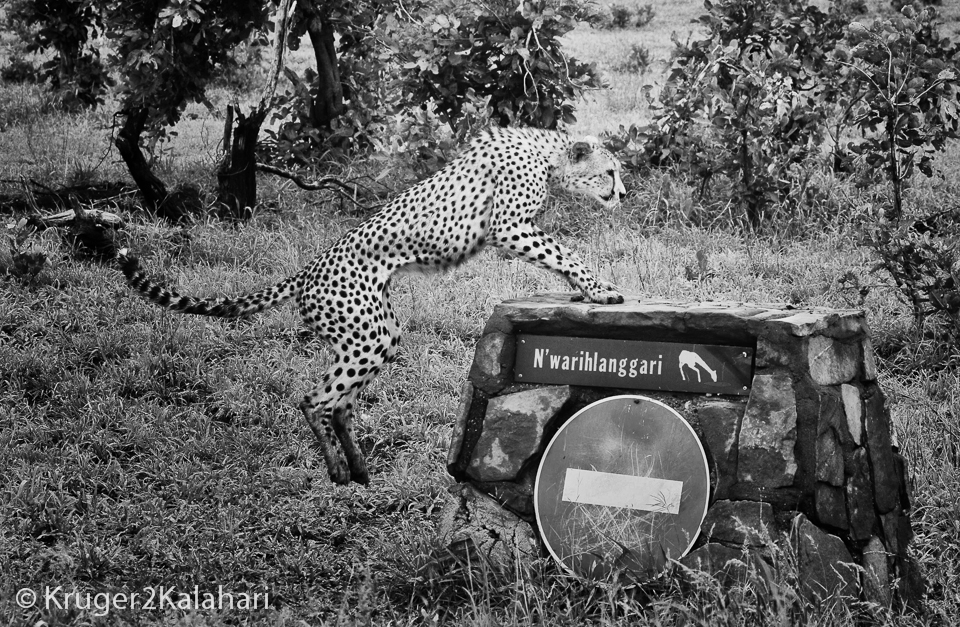
Nature photographs need the perfect vantage point to be most effective. There should be a good mix of light and shadow in the viewfinder. Keep in mind that colors don’t show up the same in black and white. Therefore, you need to be able to view the scene through black and white eyes.
Remember to keep in mind the main image you want to show in the photo. Make sure that it becomes the focal point. When there are too many things to see in an area, you may need to zoom in on your intended subject. This is also true when you want to take a photo of something that is small or difficult to see.
Check the Lighting
Outdoor conditions are often less than perfect. Lighting is one of the most important aspects of black and white photos, as GuruShots explains in their guide. Yet, light can be tricky to manipulate. It is essential to achieve good contrast. Try utilizing high dynamic range imagining, HDR. HDR allows you to obtain a better range of luminosity which is ideal for black and white images. The purpose of HDR is to end up with pictures that are more similar to what the human eye sees.
HDR can improve several types of photos. It is difficult to see a lot of contrast between the land and sky in landscape photos. Using HDR will improve the variation without causing a photo that is too dark. When you are working with sunlight, it can cause glare along with dark shadows. HDR helps to improve these variations.
If you have a low light situation, the entire photo might appear too dark. HDR can help improve and brighten your photo in areas that need it without causing other areas to become too light. However, be careful with the use of HDR. If there is already high contrast in the photo, HDR can actually worsen the aesthetics.
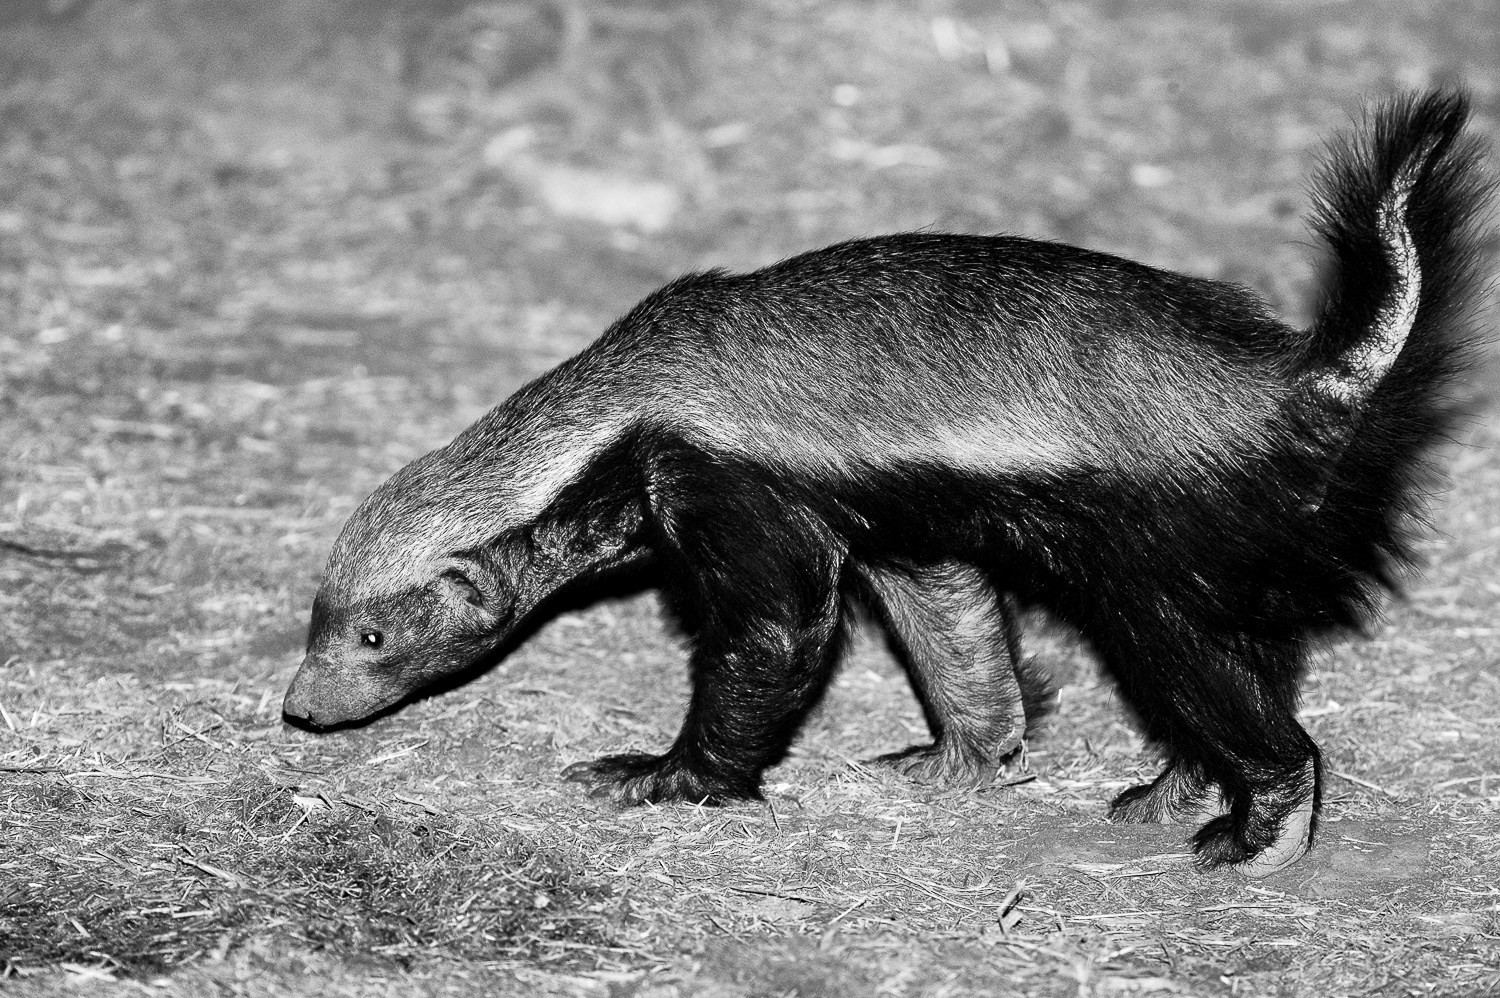
You can also improve lighting by making changes to the ISO setting. The ISO setting allows more or less light into the scene. Typical ISO settings range from 100 to 6400 in some cameras. When taking black and white photos, you want the ISO setting as low as possible to reduce noise, reminiscent of vintage black and white photographs, like in this nice collection of Las Vegas photos. This is particularly important in situations where there is low light. A lower setting will help eliminate the grainy look of the photo.
 |
 |
|
Photographer's Guide to Etosha "Your time and money are valuable and the information in this book will help you save both." - Don Stilton, Florida, USA |
Photographer's Guide to Pilanesberg "This work is so much more than an eBook, because it is also a guide, a tutorial, an inspiration and a must-have for anyone interested in wildlife photography" - Findtripinfo.com, USA |
 |
 |
|
Photographers Guide to Kgalagadi "This eBook is packed with knowledge that can be applied to other parks, safaris and wildlife excursions via the photography lessons and additional advice for photographers" - Amanda Ellis, Pretoria, South Africa |
Photographers Guide to the Greater Kruger National Park "It's 768 pages of the most amazing information. It consists of, well, everything really. Photography info...area info...hidden roads..special places....what they have seen almost road by road. Where to stay just outside the Park...camp information. It takes quite a lot to impress me but I really feel that this book, which was 7 years in the making, is exceptional." - Janey Coetzee, founder of CAROK (Camps and Roads of Kruger) |
Pay Attention to the Histogram
The histogram is a little-used function but is highly recommended, especially when working with black and white photos. The histogram is a graph that shows areas of light and dark in the photo. The graph displays the values of dark to light from left to right as well as how much of the image displays these values.
The histogram is typically displayed at the bottom of the LCD, below the image. As you become more proficient at utilizing this graph, you will be able to correlate it with aperture settings or F-stops to take more precise photos. You will also be able to utilize a flash or filter to change the lighting contrast when possible.
Take Control of Your Image’s Format
Your camera usually allows you to choose from Raw or JPEG images. When shooting black and white photos, it may be preferable to use the Raw mode. The advantage is that you will have the ability to improve the tone and sharpness of the image. This flexibility is lost when you use JPEG. However, keep in mind that you will have to do further manipulation of the photo later.
You’ll also be able to use
advanced programs and imaging techniques after you take the photos. Various
programs, such as Photoshop and others, allow photographers to experiment with
adjustments to their photos to create the best possible results.
Return from Taking Black and White Nature Photographs to Nature Photography page


To make a safari rental booking in South Africa, Botswana or Namibia click here
"It's 768 pages of the most amazing information. It consists of, well, everything really. Photography info...area info...hidden roads..special places....what they have seen almost road by road. Where to stay just outside the Park...camp information. It takes quite a lot to impress me but I really feel that this book, which was 7 years in the making, is exceptional." - Janey Coetzee, founder of CAROK (Camps and Roads of Kruger) South Africa
"Having a passion for the region itself and having to know about all dynamics, water holes and ideal roads for a period of 6 years - I wish I had this guide on my first trip already!" - Morkel Erasmus, Secunda, South Africa
"Mario and Jenny take you to places that are not always visited, and their descriptions of the more remote camps will allow you to make an informed decision without wasting time and money" - Bob & Sherry Shepardson, DeBary, Florida, USA
"Your time and money are valuable and the information in this book will help you save both." - Don Stilton, Florida, USA
"I highly recommend the book to anyone visiting Etosha National Park to photograph the animals - or anyone considering an African photography safari in the future." - Anne Darling, Cognac, France
"As a photographer and someone who has visited and taken photographs in the Pilanesberg National Park, I can safely say that with the knowledge gained from this eBook, your experiences and photographs will be much more memorable." - Alastair Stewart, BC, Canada
"This work is so much more than an eBook, because it is also a guide, a tutorial, an inspiration and a must-have for anyone interested in wildlife photography" - Findtripinfo.com, USA
Photo Safaris on a Private Vehicle - just You, the guide & the animals!
New! Comments
Have your say about what you just read! Please leave us a comment in the box below.